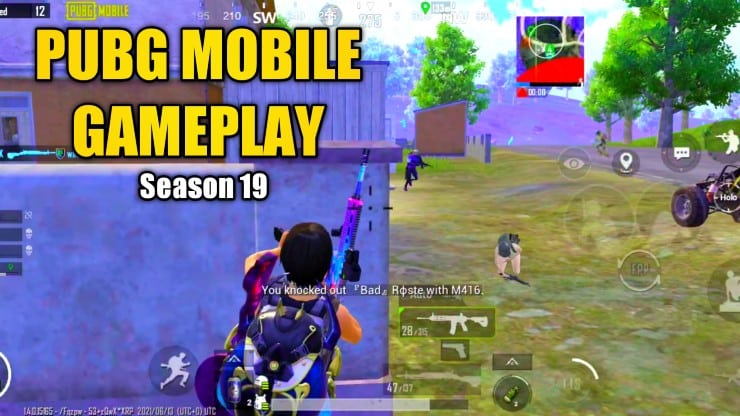
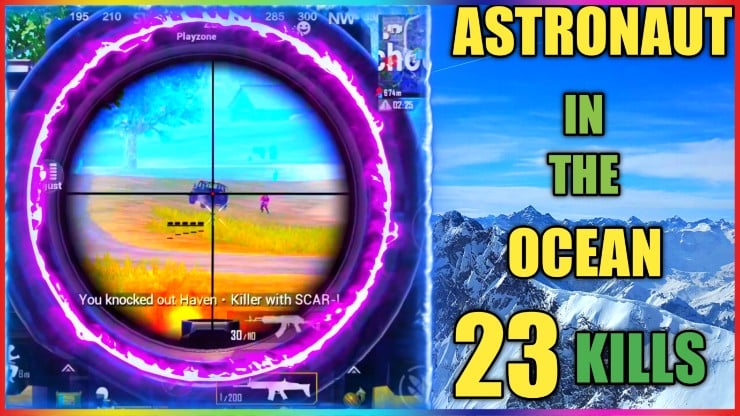
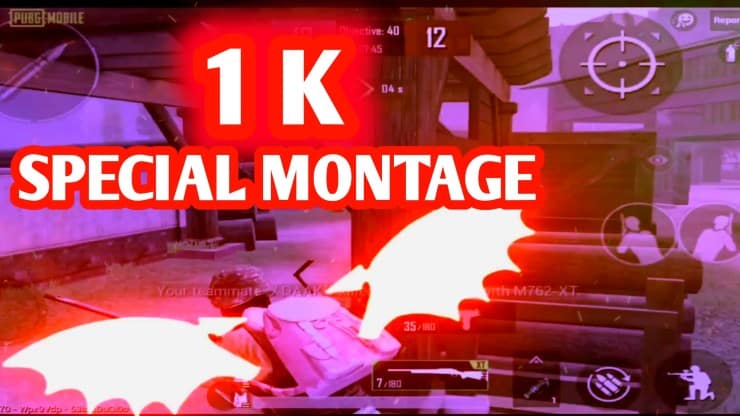
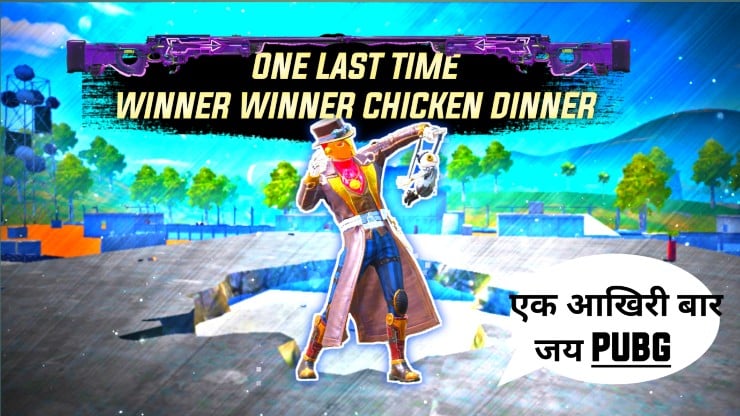
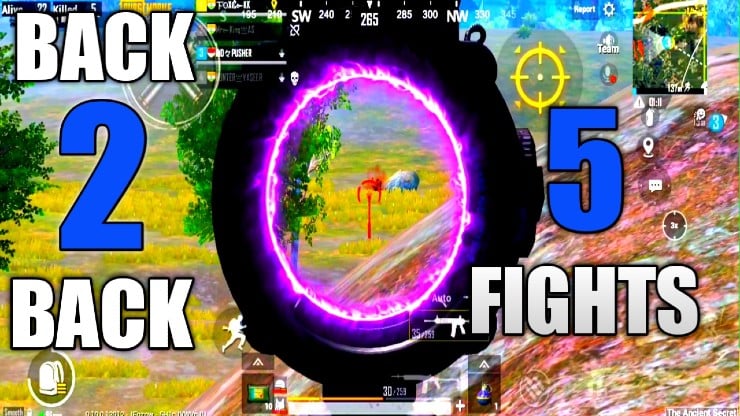
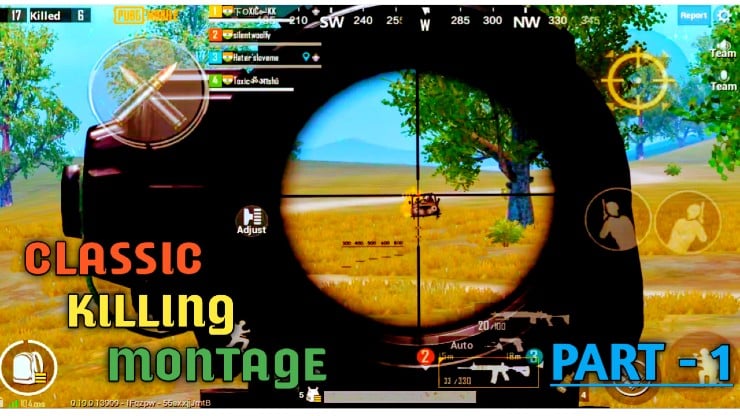
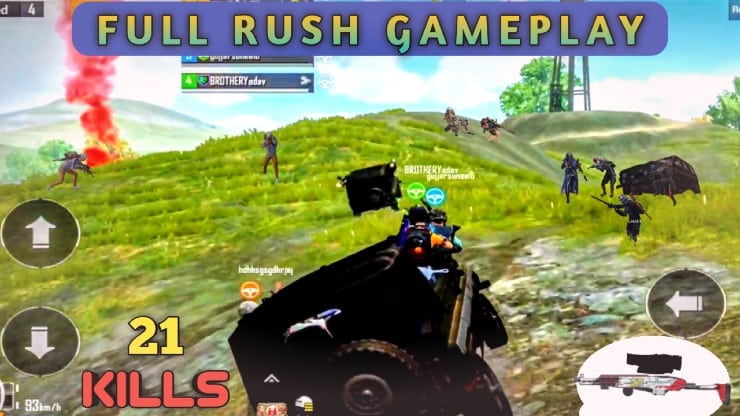
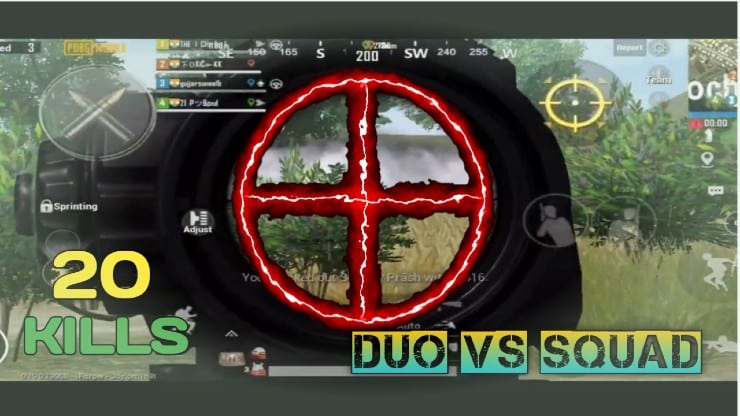
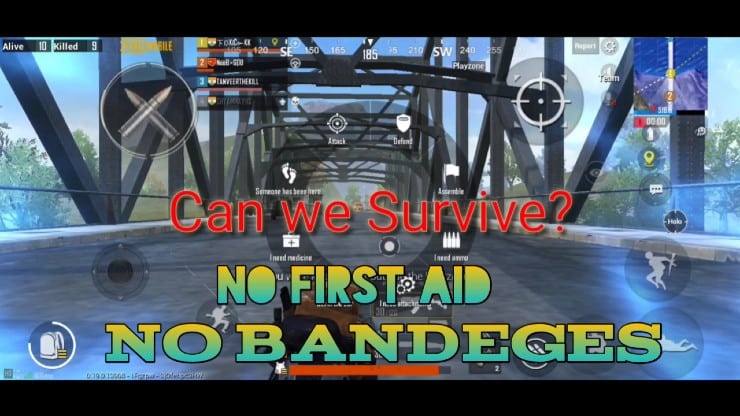
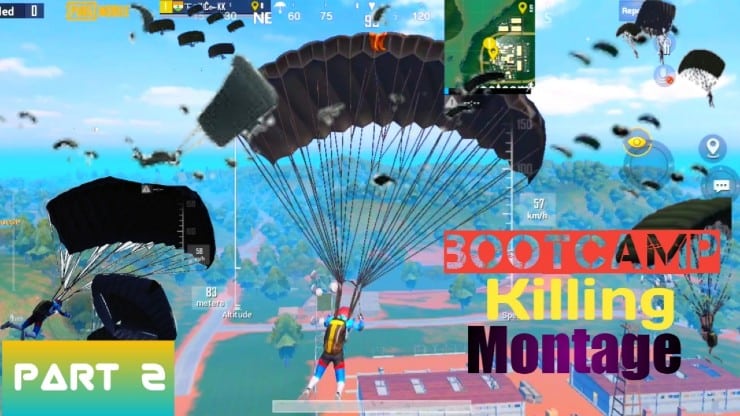
Today I’m going to tell you how to make a PUBG thumbnail using your Android phone and totally free apps. It is very simple to make despite it looking very complicated. We will be making it with three different apps. This is the time to update your thumbnails from normal to professional. And we are going to learn it today. So we will learn today that how to create this kind of thumbnail to improve your views and also a good impression of your videos.
Apps which are used for making Pubg Thumbnail
The first app will be using is an image editor for the initial layout design, like adding in our character and background etc. The second app we will be using is Pixel lab, PicsArt & Canvas for our text design. And the last one is Snapseed for color grading. I just added a few of my own and edited them so you can download and use them easily.
Also Read: Submachine Guns (SMG) in PUBG
Steps for making Pubg Thumbnail
Step: 1 All right, let’s open up the image editor and kick things off by creating an empty canvas. Swipe right to open the sidebar. Then tab the Create new icon next to just draw type 1924 width and 1084 height. This is the recommended resolution for YouTube thumbnails. Select black as the background color then taps new.
Step: 2 Next, we’re going to import our background image. Tap the plus icon up top, select image then paste from the file. In your document explorer, select your background image for this tutorial will be using this image of a rainbow.
Step: 3 Because the image editor is layer-based, if you tap outwards in the black area, you will be applying effects to the whole project instead of an individual layer. If you tap the image to select it, any effects you now apply will only affect the selected layer. Cool, we will now decrease it supposedly by tapping the three dots again and going into layer properties.
Step: 4 Tab the middle drop icon and decrease the capacity to 70%. You don’t have to by any means copy exactly what I’m doing. I’m just showing you how to use these tools. You can be creative on your own and use different characters, backgrounds and overlays. Speaking of overlays, let’s now import and overlay. Same process as before for importing images. I’m going to use this overlay of these embers.
Also Read: Top 10 worst weapons in Pubg mobile
Step: 5 Zoom out and scale up the background image at tide bit. Tab the Flip Horizontal like on to flip it. Since our character will be on the right side, it makes more sense to let the embers fly from the right side. Save changes by typing the ticker icon then go to Layer Properties. Tab lending options icon and select screen. This blending mode basically turns everything that is very dark invisible. We’re not going to add a dark background on the right side so our text is separated from the background when we add it. Tab the plus icon again and select shapes.
Step: 6 Make the rectangle fill the entire canvas changes color to black, type RGB, then tap color again so we can decrease its capacity. Decrease the percentage just a tiny bit and then save changes. Tab the Adjust icon and go to the capacity tab. Select fade, tab fade right to open in settings. Tab the left arrow to open up the slider. With this arrow, you can move the fader around. 15% is where I like to keep it gives enough space for our character and text.
Step: 7 One more thing before we add our character, tab the three dots, do the order and select Send backwards. All right, it’s now time we add in our character. Same process again as we did two times before for importing images. After you have imported it, increase its size as well. I recommend moving it slightly down so nothing from the top of the character is getting out of frame.
Step: 8 Let’s save changes and export this image by typing a disc icon, selecting save and saving it as a Png to our gallery. Let’s now head over to pixel labs and add our text. These are the fonts will be using. Headliner and against.
Step: 9 Using a file manager like EX File Explorer, export the font file inside the zip to the fonts folder in your internal storage. The fonts should now be available in pixel labs. Let us know to import our image. In pieces of labs tab the three doors up top, tab used an image from gallery and select the image we exported from Image Editor. Go back to the three dots menu and tap image size. As you can see we are we’re not working on the perfect image size. So change it to 1920 by 1080, then tap okay. At the first string of text by typing the plus icon in the top left corner and selecting text.
Also Read: MG3 vs GROZA vs MK14 (Ultimate Weapon Comparison) in PUBG MOBILE & BGMI Tips & Tricks Guide/Tutorial
Step: 10 Increased sizes of this text quite a lot because as you know thumbnails are very small so the larger your text, the easier it will be to notice and read. Let’s head over to colour. Tab gradient then selects the vertical black and white gradient from the list & Tab the plus icon then tab the middle aerial icon to flip the gradients. Let’s save these changes and open up Inner Shadow and enable it. Select the white colour from the list, make the blue radius five and then save changes.
Step: 11 Once you’ve done that save changes. The same process goes for the second bit of text, we will place it below our first string of text and slightly rotated it. For this text change the font to against in front properties. Go to color and go to gradient properties, because this time we will choose a different color. Tab the right color stop and go to its settings. Then tap the pencil icon and type in ff six-eight, six-eight then tap okay. For the left color stop typing ease out to E one A, then save all changes. Add inner shadow just like we did before but this time with less blur.
Step: 12 All right, let’s export this to our gallery in Png format and 1920 by 1080 custom resolution. Now instead of typing save to gallery tap share and select snap seed. Once the image opens up in the snap seed tab the Edit stack icon right at the top, tab QR looks and then select scan QR look. On your screen and you will now see QR looks that you can scan and use. I spent a lot of time putting these together just for this purpose. You can of course use this on other photos as well. Once you have applied your look, you can export this and upload it as your thumbnail. And there you have it. You now have a super cool PUBG thumbnail you can put on your videos.
Pubg Thumbnail Pack
Below are some Pubg thumbnails that I have made for my youtube channel. You can easily download them and use them without any copyright issue, no copyright claim will ever be given from my side.
I hope you like my blog, and if you want to say something about it please write in the comment section.


